
Backup policy has to be created to backing up the client data over the network, before crating a policy; install Symantec NetBackup 7.5 client on remote machine. While doing the post configuring it might ask you to create data backup policy or you can create new backup policy from admin console.
Backup policy can be created from Admin Console.
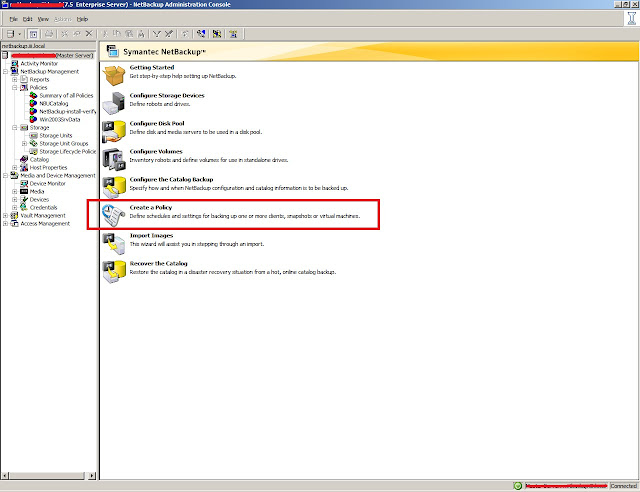
or
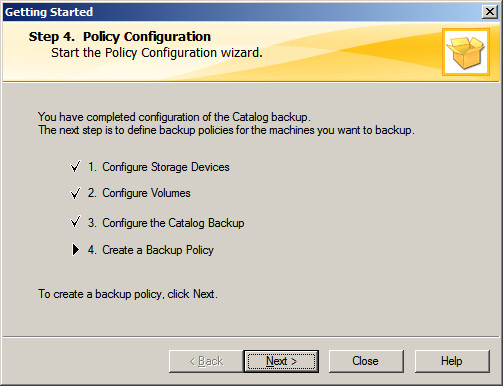
From the previous tutorial Configuring the Catalog policy. Click Next to Create data backup policy.
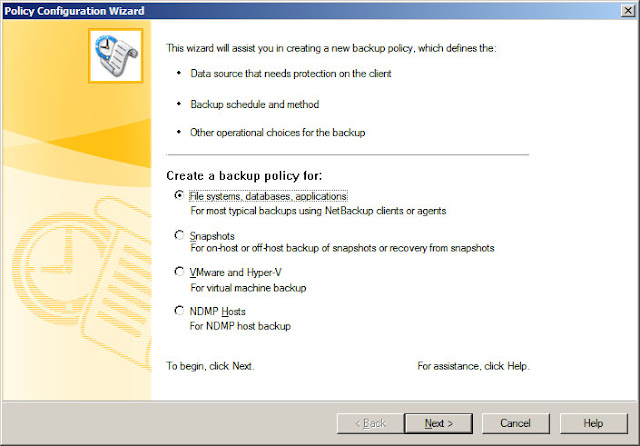
Select appropriate policy for, you can select any one according to the requirement. File System, database, application is to be selected for normal data backup.
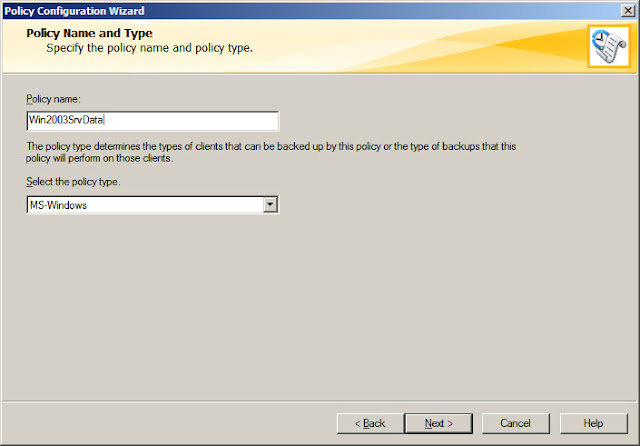
Type policy name and select MS-Windows to backup the remote windows machine.
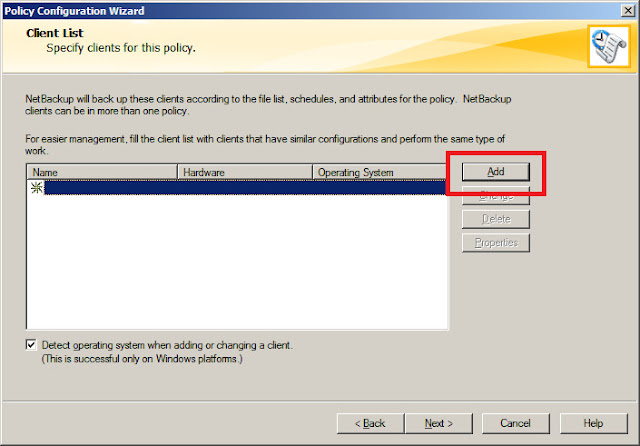
Next is to add the clients to this backup policy, Click on Add .
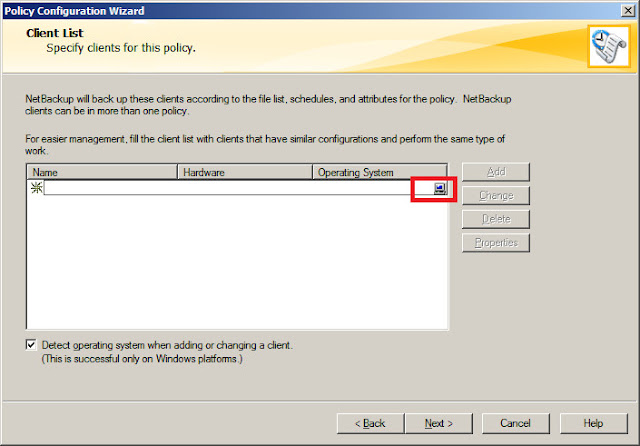
Click on Computer icon at the right end to browse the clients.
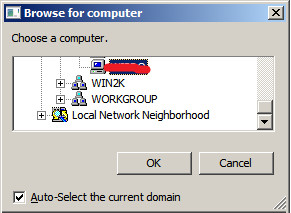
Select the client.
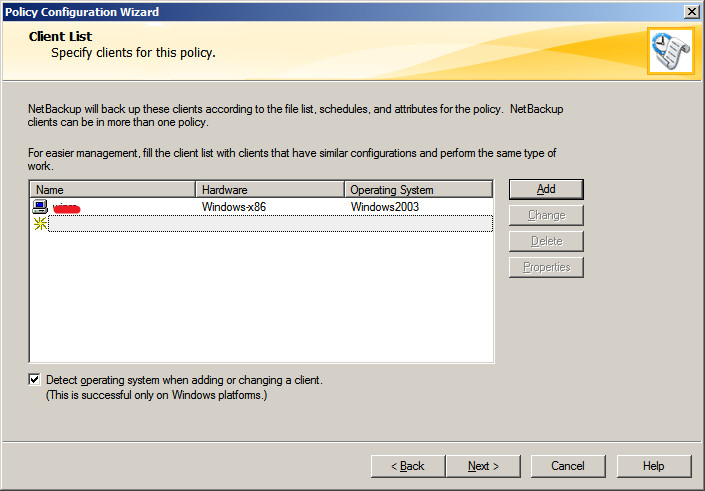
It will lists the added client, multiple client can be added by doing previous step. Click Next.
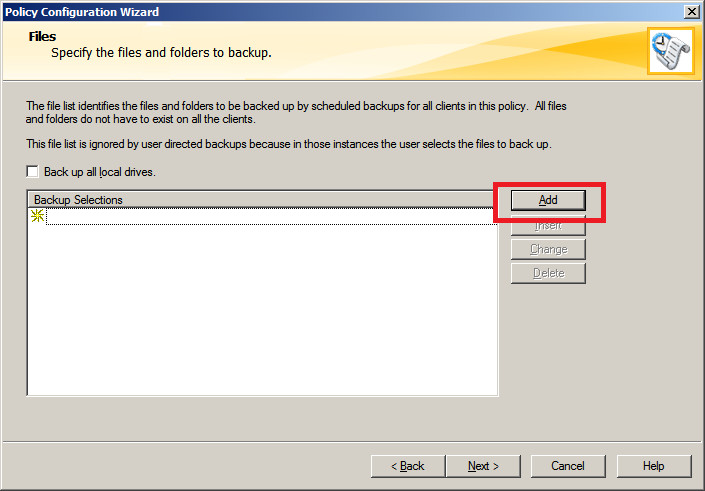
Now it’s the time to add files and folders to this backup policy, click on Add.
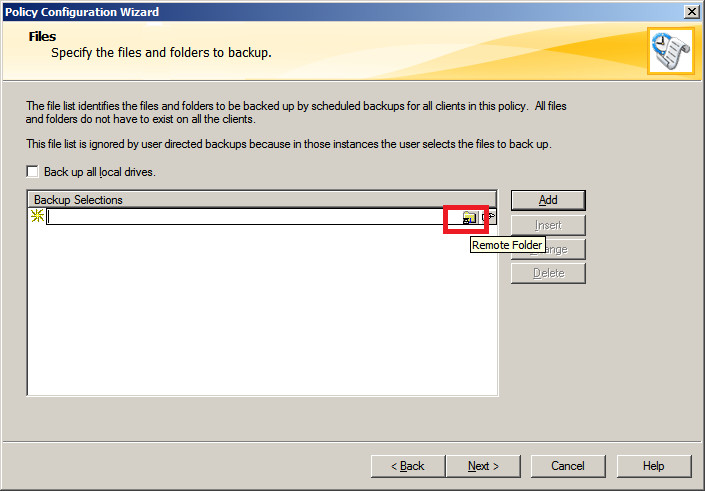
Click on Folder icon at the right end to browse the files and folders on the remote machine;
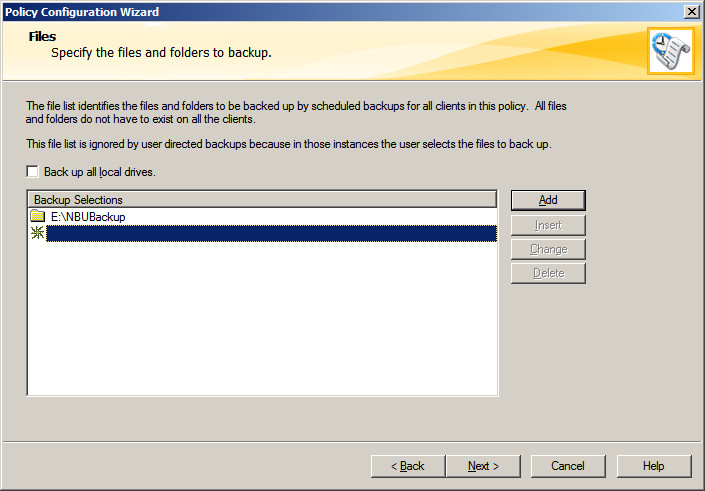
Select remote folder that you want to backup and then click OK.

Multiple folders can be added by doing previous step, once added click Next.
Select Full backup with deferential incremental backup.

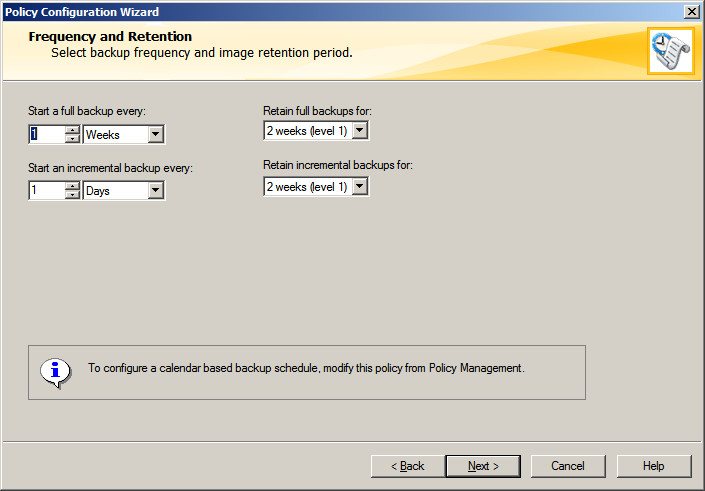
Select the frequency of backup, as per below; full backup will happen every week and increment backup will happen daily. Full backup will be kept for one week where as incremental backup will be kept up to two week and it will be over written after those time limit.
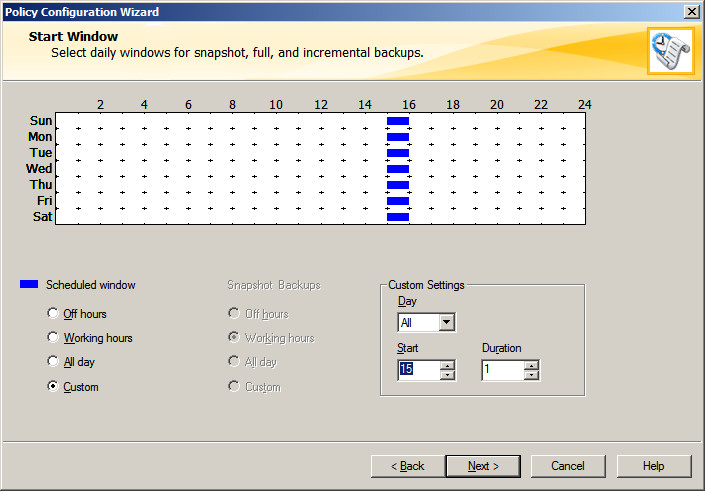
Set the schedule of backup, as per below configuration backup will be happen at 3 PM.
Click on Finish.
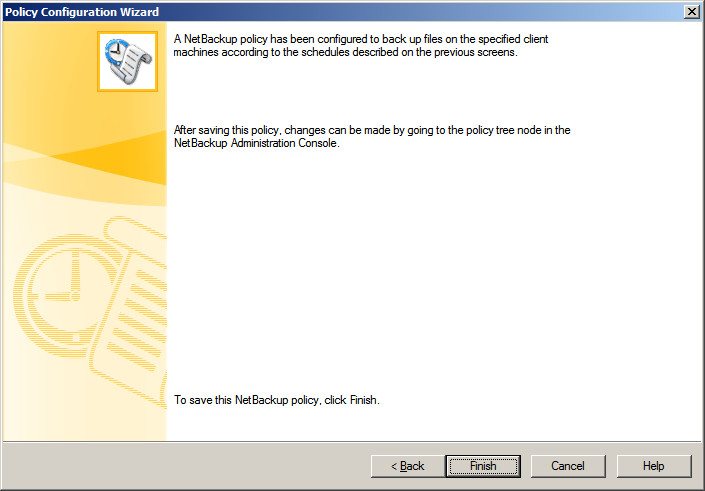
Now you have successfully configured data backup policy on Symantec NetBackup 7.5.
Extras:
This following is applicable to the post installation configuration of Symantec NetBackup 7.5 (ie it will ask you for one time when you are starting the admin console after the installation of NetBackup).
You no need to wait to test the backup. after the creation of data backup policy, Symantec has the inbuilt testing mechanism to test the backup. Click next.
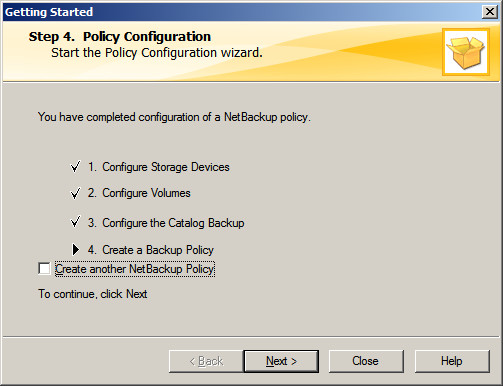
Don’t do anything, click next.
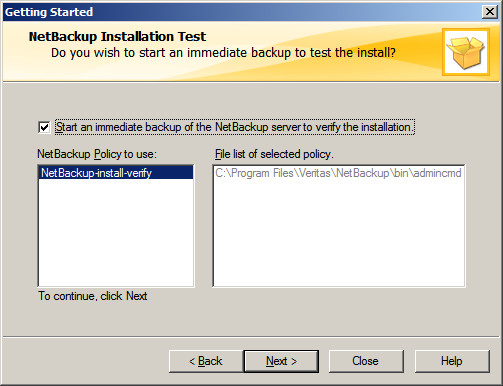
Finish the post installation setup.
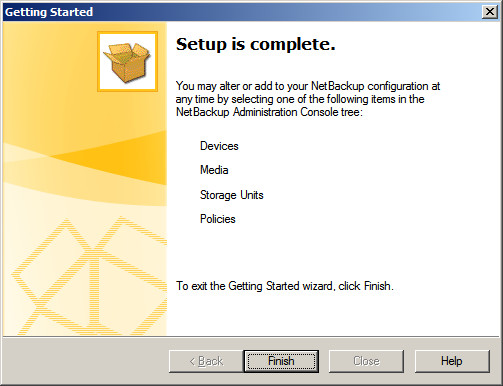
Now go to the activity monitor to check the test backup.
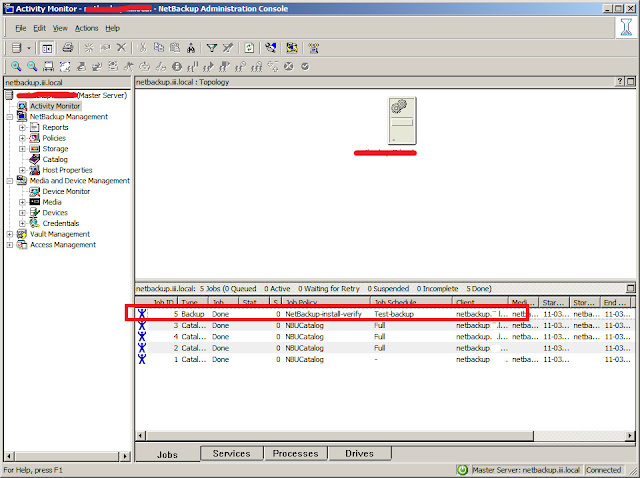
That’s all you have successfully backed up the test files, original backup will start automatically on scheduled time; can be monitored using this activity monitor window. Finally you have finished installation,post configuration and created the backup polices, backup can be managed by using admin console.


0 Comment to "NetBackup: Create Backup Policy in Veritas NetBackup (Symantec) – Verify Windows or Unix Policy"
Post a Comment