NetBackup client must be installed on the computer before creating a backup policy, client software can be installed by locally (CD ROM) or remotely via network. Here is the small tutorial about installing client on Windows 2003 server.
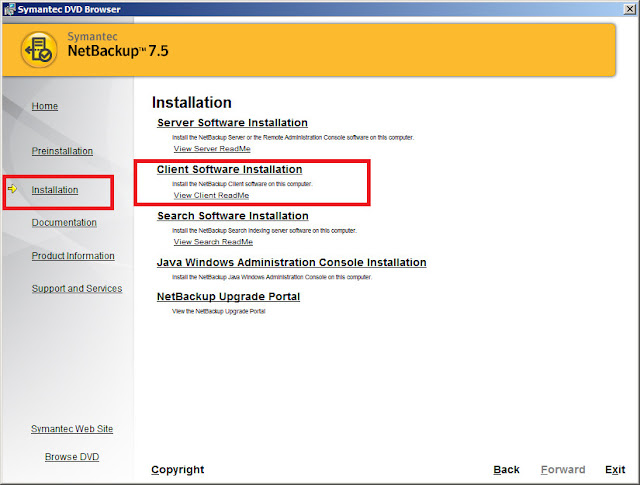
Run browser.exe from CD ROM or HDD. Setup will start, Select Installation menu, then select Client Software Instillation.
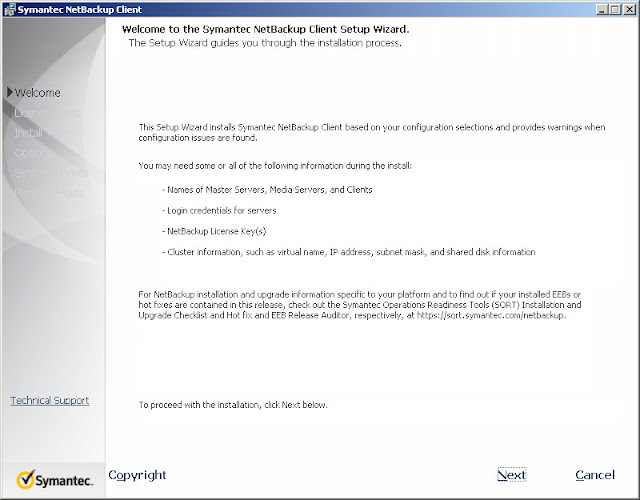
Click Next on welcome window.
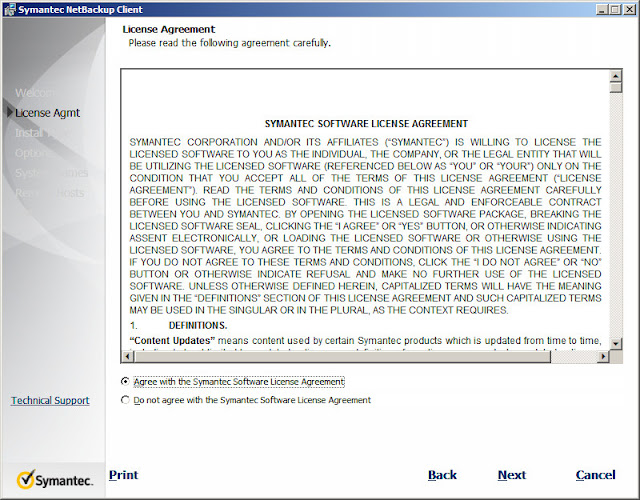
Accept License Agreement.
Local Installation:
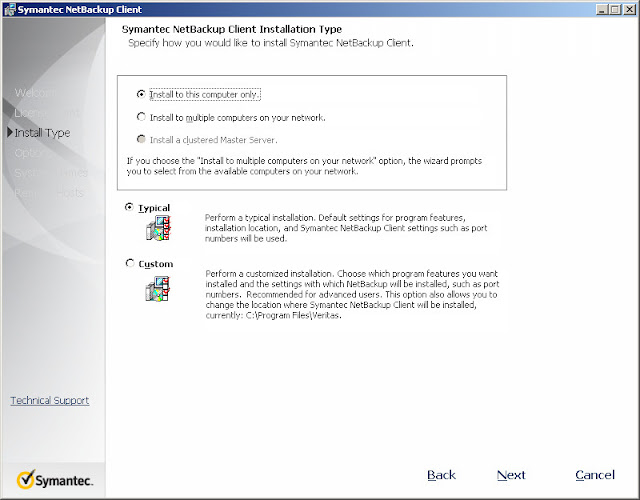
Installing client on local machine, select Install to this computer only.
Type master server name ( NetBackup Server).
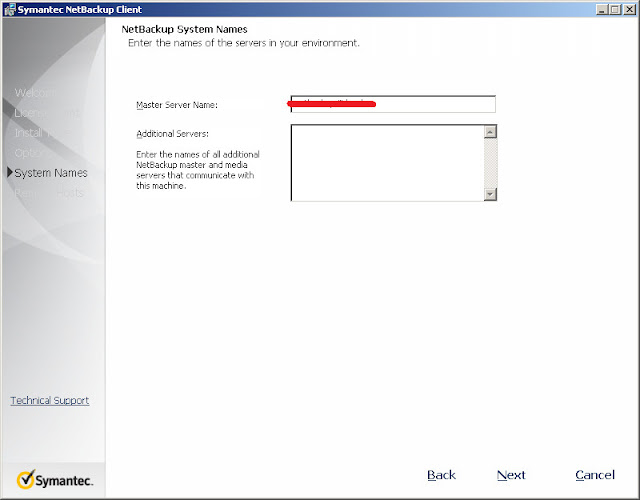
Click on Install.
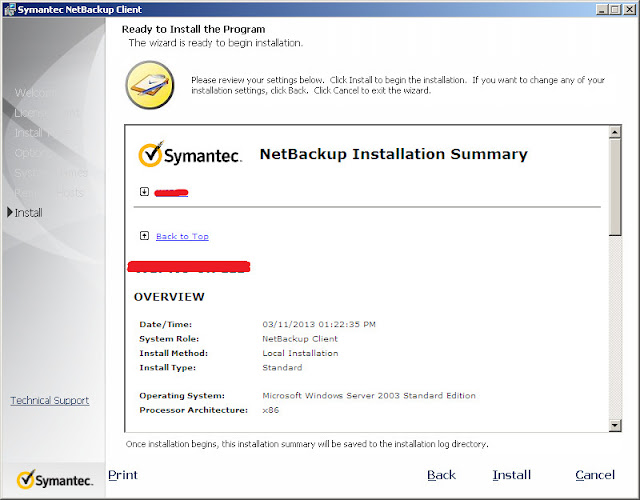
Installing.
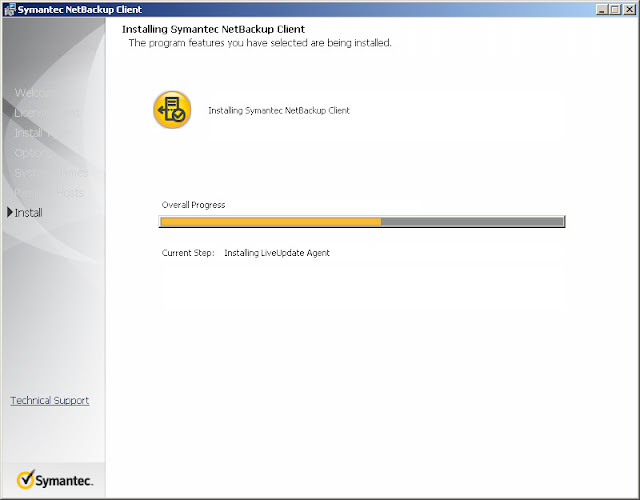
Finish.
Remote Installation:
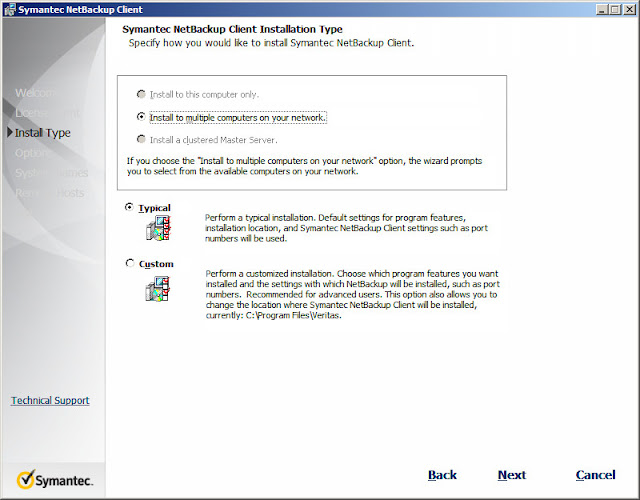
To install remotely, select Install to multiple computer on your network.
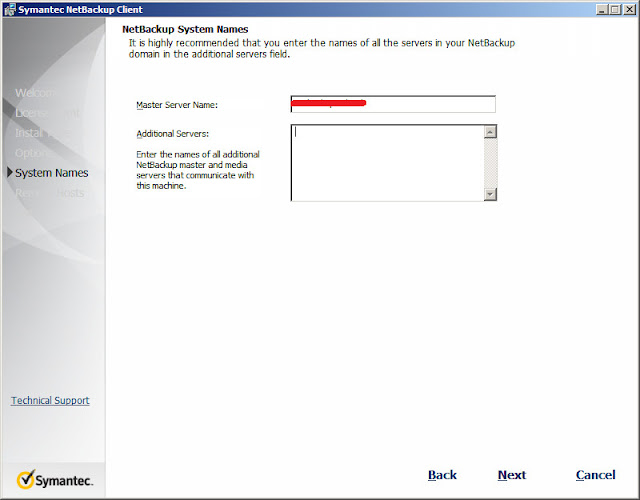
Type master server name ( NetBackup Server).
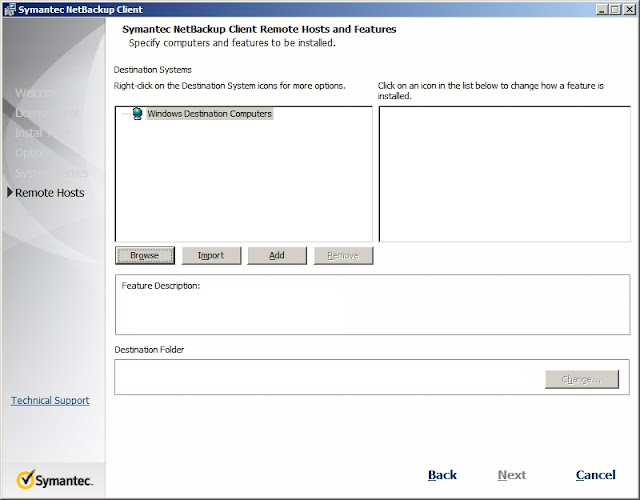
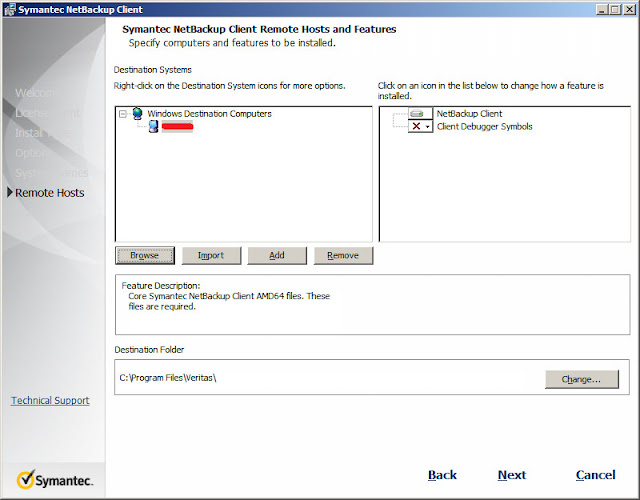
Click on browse to select remote computers.
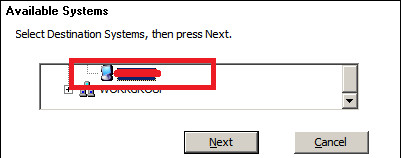
Select the remote machine.
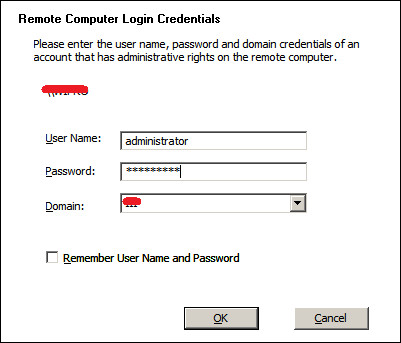
Type credential of remote machine to install the client software.
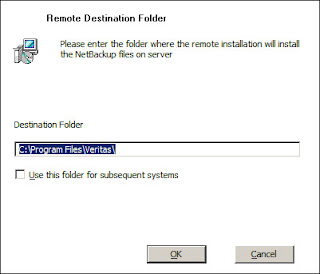
Enter the information about the destination directory.
Once added the machine, click Next.
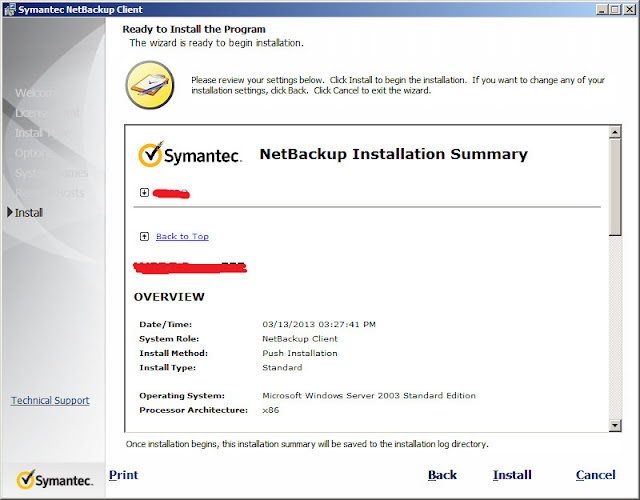
Click on Install.
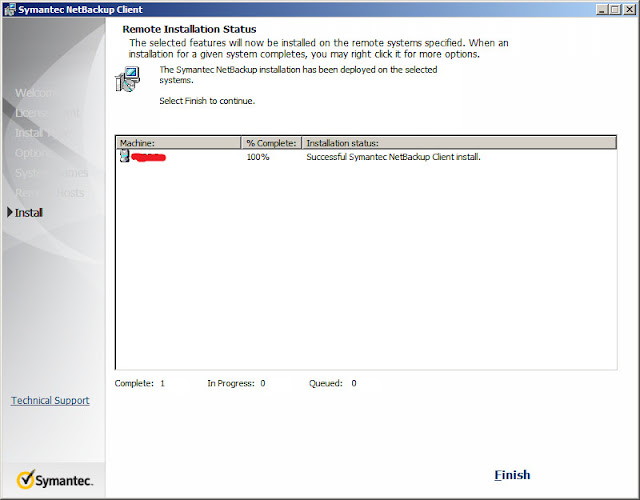
Finish.
That’s all. You have success fully installed NetBackup client on server, Recommended to allow the firewall connection. Now you can configure the first Backup policy for the windows client.


0 Comment to "NetBackup: Install Client Software in Veritas NetBackup (Symantec) – Windows OS"
Post a Comment